
It does not matter whether you consider traveling a hobby or a profession, starting a travel blog always facilitates the purpose of traveling. Putting up a travel blog is an important tool for anyone who wants to take traveling seriously. Not only does it bring in the audience who wants to learn of your many experiences but also in terms of knowledge gaining.
It is more like a personal journal that you create like a timeline for yourself to read as well as other fellow travelers around the world. Hence starting a travel blog is a good decision and it is pretty easy to set up as well. You will not require more than 30 minutes.
The difficult part comes in maintaining it. However, there is always a beginning so let’s help you start your travel blog in the most kickass way possible.
How To Start A Travel Blog
Here’s a step-by-step guide on how to start a travel blog.
Step 1: Choose A Domain Name (and do it wisely!)
Choosing the right name for your blog should be of utmost importance to you. Not only should it add purpose to venturing your travel guide into business, but it should also encapsulate your brand in the shortest way possible. Here’s the crack. If the name of your blog is a long one or something that is hard to remember chances are that you will have fewer organic reaches and shares.
This again means that you will have to run a lot of ads, which clearly makes no sense! Hence the choice lies in your hand whether you want to restrict the growth of your business or not.
So brainstorm over the blog name. The domain name should be as catchy and comprehensive as possible, which could be approximately within four to five words and not more. Also, try not using hyphens in between as it could confuse your viewers, slightly (why take chances!).
Why did I choose RoutePrints as the name of my travel blog?
RoutePrints, to me, evokes a sense of journey tracing. Further, I did not want to limit my audience to a particular style of traveling or a specific age. This also leaves me with the ground to potentially explore more depth into my sense of travel.
Step 2: Hosting Your Blog
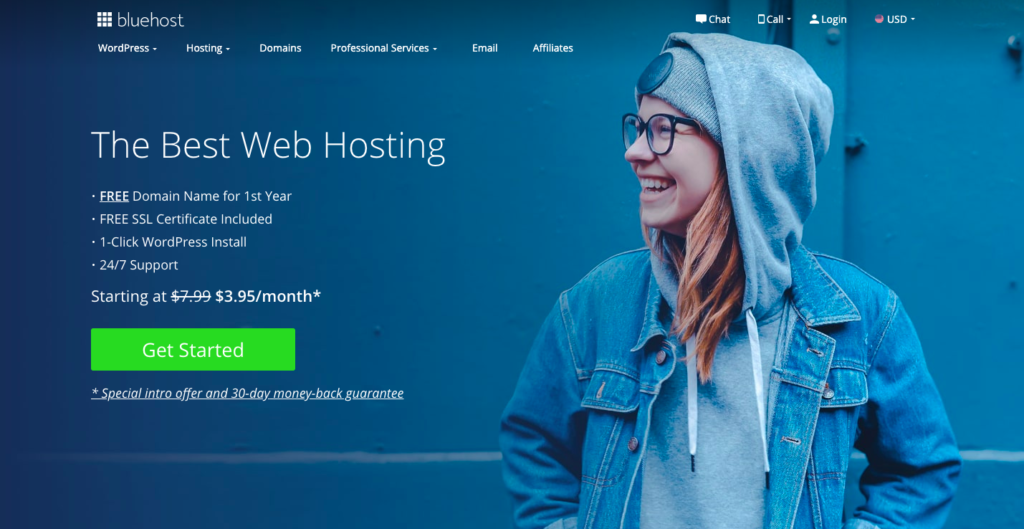
Hosting your blog means registering it online by signing up for a host. Once you have zeroed down on your travel blog’s domain name you have to register the same online by purchasing a host. A lot of people are clueless about how to go about it, but luckily it is easy and quick to set up. When I use the term hosting it means creating a home for your travel blog.
In layman’s language, it means you will be able to rent out space on the Internet where your website could go live. You do not need to understand anything more than this about hosting. There are a number of budget hosting companies. Choose from one and setting up after that will be a matter of 10 minutes or so, which is again, very quick and easy.
1. Make an account on Bluehost or Hostgator.
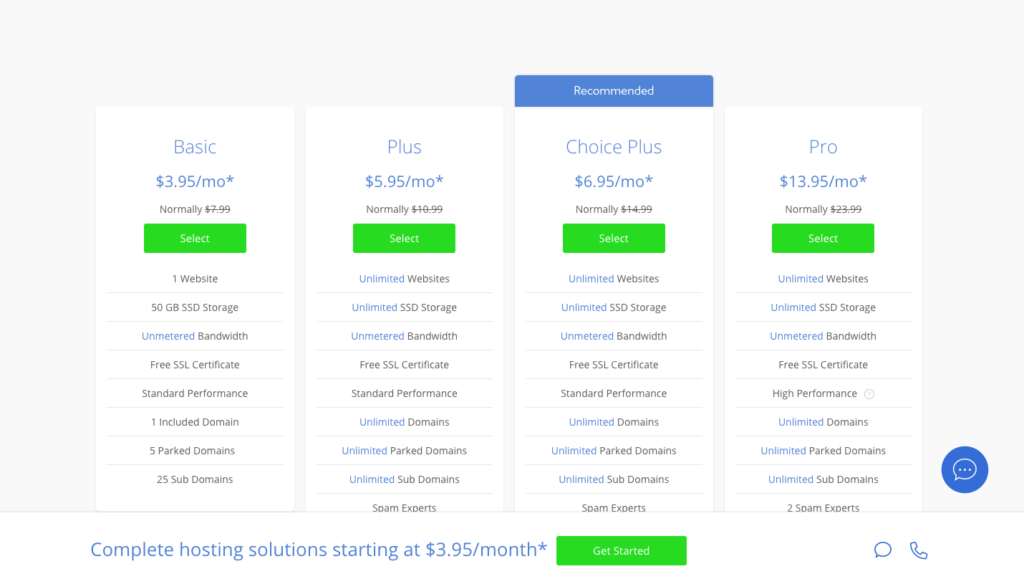
2. Pick up the best plan for you.
3. Check to see if your blog name (domain name) is available.
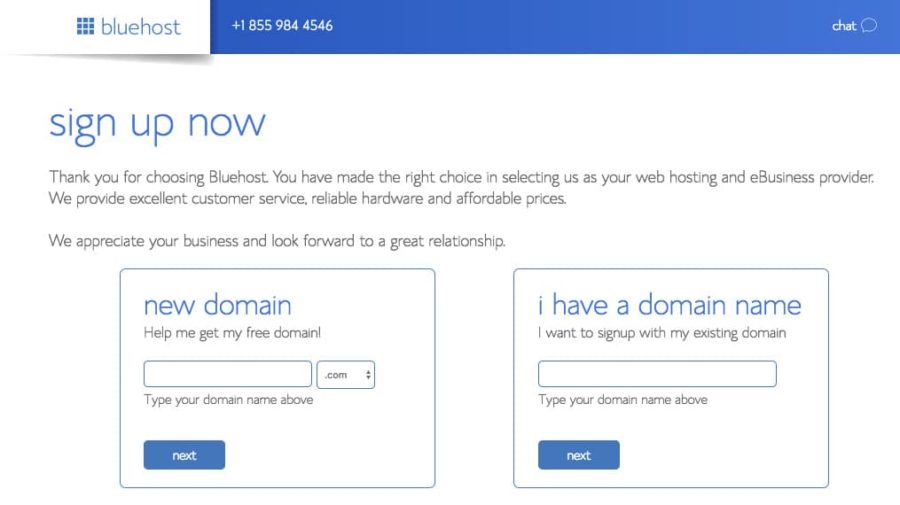
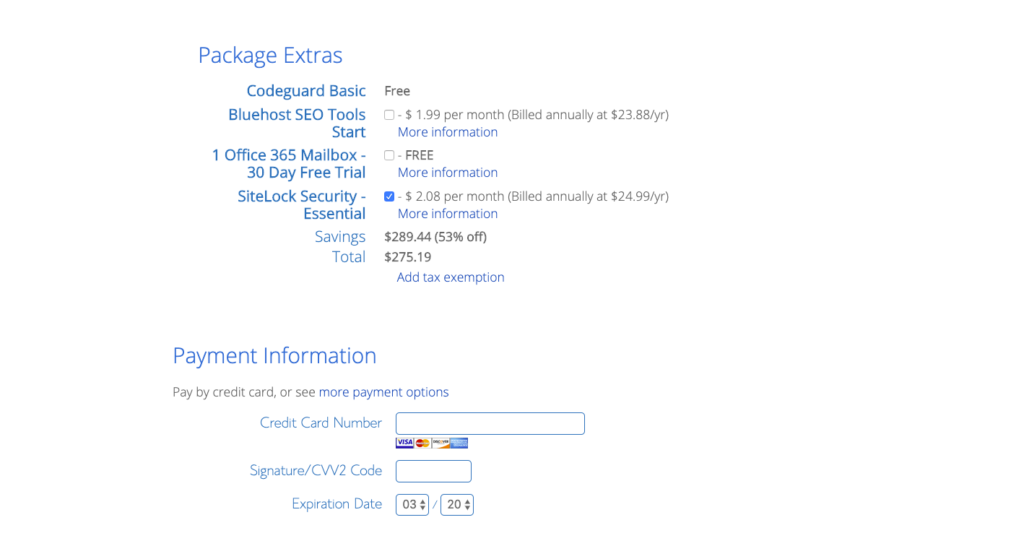
4. Create an Account, Add extra features and Pay for that.
Step 3: Install WordPress
Once you have registered with a host, the next step is to install WordPress. WordPress is actually going to run your travel blog. It is an open-to-all platform that comes with a free Web publishing application along with CMS (content management system) and other blogging tools making it easy for you to blog. After you make the purchase, you will be notified of your email with your login details.
Once you click on the login link you will see a pop up asking you to Get Started with your WordPress account. In the next few steps, you will have to enter your domain name and user information.
And then click INSTALL! Your WordPress account has been set up and all you have to do now is enter the login user id and password again and there you are. YOUR WEBSITE IS LIVE. You could change the password later if need be.
Let’s brief you on a step-by-step guide on how to write a blog on WordPress:
- Heading: The subheading could be in Heading 3 (H3). So try keeping the content text to two sizes smaller than the subheading text.
- Hyperlink: Your content should have a maximum of five hyperlinks and a minimum of two hyperlinks. Make sure to add a hyperlink at the end of your blog to direct the reader to your concerned landing page. To insert the hyperlink highlight the text and then click on the Insert tab on the top of your blog. Now you need to enter the link in the pop-up.
- Insert Image Content: Click on the “Add Media” tab above the blank sheet. Upload the image. Fill in the blank spaces in the rightmost corner of the page.
- Tags: include tags that are relevant to your post and there should be four to five secondary tags relevant to your category, which in our case is traveling. The keywords of your blog should be the same as your tags. Do not fill in anything below Keywords. Leave it as it is.
- Category: Select only one category for your blog, if need be maybe one more but not more than that since it blurs the content of your blog.
- Meta Description & SEO Title: Change the description of the blog, if need be. A description is ideally automated but if you see that the content is not relevant, make an edit. Further, make sure to fill in the SEO title of your blog. A rule of thumb here, your title should not exceed more than 10 words.
- Focus Keyword: Do not forget to insert one focus keyword of your blog. The focus keyword should always be only one.
- Featured Image: Check your featured image and make sure it is not a blurred image. Make sure you know the dimensions before you publish so that it does not get cropped. Ideal size: 500 x 400p, or, 700 x 400p.
- Do Not Change The Heading Content After Publish: Make sure that you do not keep changing the headings for an infinite number of times. It does not look professional. Also, proofread a hundred times before the main content is published.
- You are ready to publish your blog!
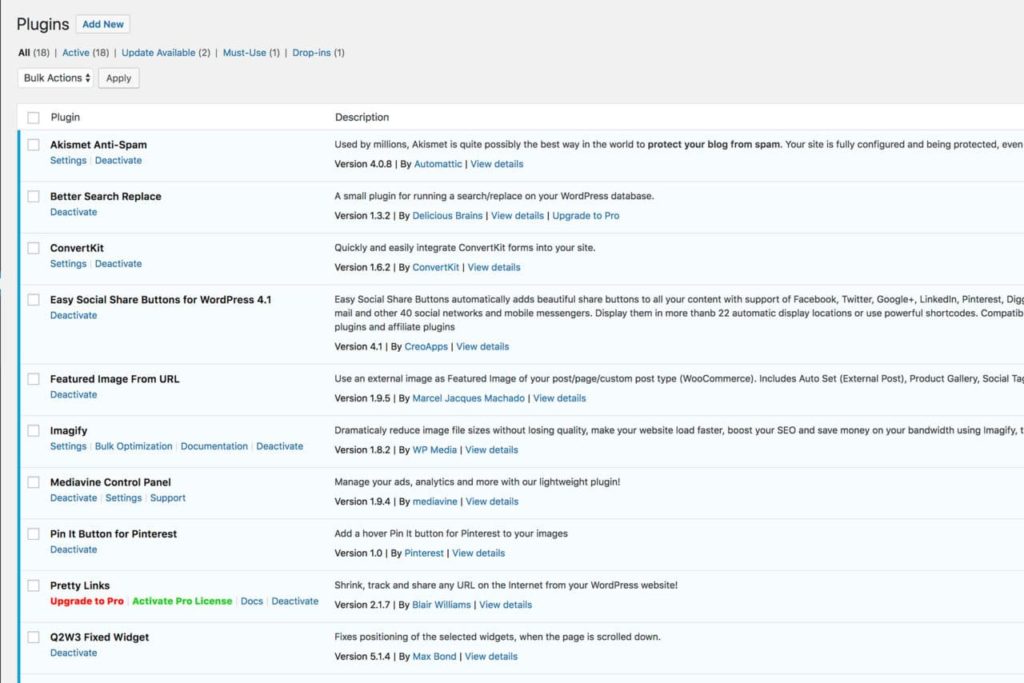
Step 4: Install Your Plugins And Choose A Theme
Plugins are add-ons that facilitate the functionality of your blog on the WordPress website. There are more than 55000 plugins listed on the WordPress Repository. Further, there are other premium plugin options for developers to explore your possibilities of making your website even better.
Another important part of setting up your blog apart from good content is an appealing design which is where themes come in. A visually appealing website gives viewers an understanding of whether they can trust your website or not. It will further decide on how many visitors even return to your website.
You can download one of the predesigned themes and then upload it to your website. Your website will instantly get a brand new makeover! You will have two main options:
- Free Themes: There are a number of free themes for new bloggers and they are low in cost as well. Not all of these presets are good enough mostly because they are free. If you plan to blog for a longer duration you might want to try the premium themes.
- Premium Themes: These are paid themes and are slightly on the expensive side. However, there is flexibility, visually more appealing aesthetics, and better functionality depending on what kind of features you want to see in your website. You will also have better control over customer support and the changes are easier to make. Best part? They are more SEO friendly.
For installing a theme all you have to do is go to the column on the left side of the screen, wherein you have to click on the Appearance and then Themes and click Upload. So once it is activated you could manually make specific changes depending on your concerned needs.
Step 5: First Few Steps Of Blogging
Once you have uploaded the theme, there are a few basics you need to know that will be good additions to your blog. Your website is not just about your blog posts. Once it is life, certain basics such as the content of About Page is important.
To make these basic pages, go to the sidebar on the left-hand side and click on Pages in there. You will get an option for Add New. For a start, I suggest making three important pages which are:
- About Page: This page will let your audience know about you, your background and what your website is about. Make this page as candid and fun as possible.
- Contact Page: This page helps your viewers reach out to you through mail, calls, or even addresses to your office.
- Copyright Page: This is a standard practice to let your viewers know that you solely hold the copyright to your content and it should not be plagiarised.
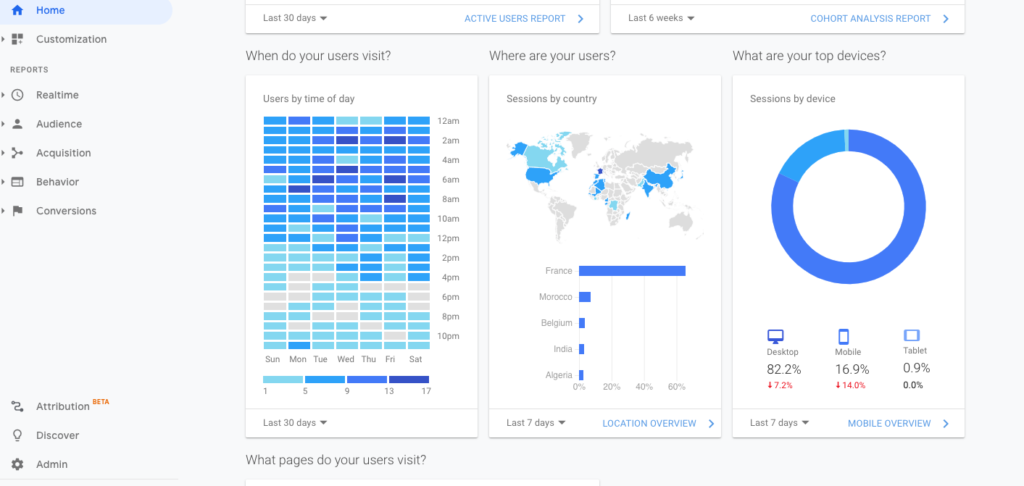
Step 6: Install Google Analytics
If you want to keep track of how many viewers visit your website per day, you can trust Google Analytics with it. You can not just track your traffic, you can also know a lot about your readers such as their age, countries they come from. You can keep a check on how much traffic you are receiving and also analyze whether it is increasing or decreasing.
Once all of this is done, connect to a network of similar travel bloggers on social media platforms such as Facebook, Instagram and create pages and groups here. You could share travel guide tips on it every day or throw ideas for their travel itinerary.
This helps you build your audience and also create a niche. In a way, you are also boosting your advertising sales and making new contacts with like-minded folks.
Why Should You Start A Travel Blog
Travel blogging is a lucrative yet crowded space today. You will come across a hundred travel bloggers who are earning six figures every year through their traveling gigs. Always plan well about the type of content you will be promoting and how it can help fellow travelers with their plans.
You will be slightly confused at the beginning on how your travel plans will evolve and how you will go about with the content but it is okay. You need to be consistent with keeping travel logs of your trips and then use them in the content of your travel blogs.
This way you will have a structure to your content and you can categorize them in useful categories such as Travel Destinations, Travel Planning, Travel Inspirations, Financial Aspects. Furthermore, do not forget to build your email list and keep a track of it religiously.
So go ahead, start your travel blog with ease today and see how you can make yours stand out in the crowd. Happy Travelling!